Stage and Fast Focus Controls

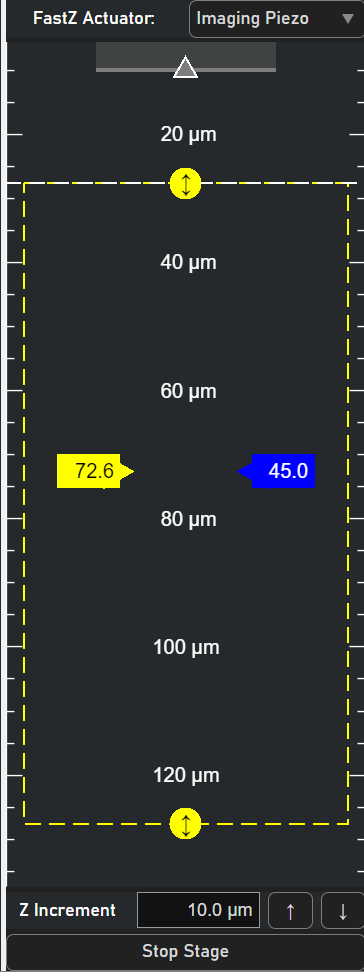
The Motor Controls window allows the user to move the microscope’s focal point in the sample. The video below shows the basic functionality of this window.

Note

Stages using the legacy driver will not have live position updating. To read the current position of the stage, click ‘Query Position’ in the Motor Controls window.

FastZ Alignment

A fastZ device’s applied command voltage is calculated like so:

From \+dabs\+resources\+devices\LinearScanner.m:

function val = position2Volts(obj,val)
    val = obj.lookUpPosition(val);
    val = val .* obj.voltsPerDistance + obj.distanceVoltsOffset;
end

Input argument val is the commanded position in microns. Without fastZ alignment, the first line of function position2Volts, val = obj.lookUpPosition(val);, assigns commanded position val to val unaltered. The command voltage for unaligned fastZ then uses a simple linear equation to determine the commanded voltage.

This works for several fastZ devices whose controllers coerce a linear relationship between command voltage and fastZ device position. However, there are fastZ devices whose position does not have a linear relation to the command voltage.

Revibro

Optotune

../_images/RevibroTFM.webp ../_images/EL-3-10.jpg

For such devices, the fastZ alignment procedure can be followed to generate a lookup table which the lookUpPosition function uses to determine the value for val which calculates the voltage required to achieve the desired fastZ position.

Prerequisites

In order to do the alignment, a separate sample stage or objective stage capable of moving precisely and accurately in Z must be used as a ground truth. Also, a sample that is thin or has noticable changes in the image with change in Z must be used. A fluorescent beads sample should work.

Procedure

Summary: Track a specific “slice” in the sample with the fastZ as you move it in Z with a Z stage while focusing.

../_images/FastZAlign.png
../_images/fakePollin1.png ../_images/fakePollin2.png ../_images/fakePollin1.png
  1. Mount the sample and start a focus.

  2. Set the Target position of the fast focus device to the lower travel bound through the motor controls GUI and move the z axis stage to set the focal plane at a depth that gives a distinct image. Zero the z-stage in ScanImage.

  3. Adjust contrast and beam power so the image is clear.

  4. Take a window snip of the display window at this reference slice.

  5. Click the Align button in the motor controls window under the fastZ device being aligned

  6. Move the motorized z stage by some small increment using the motor controls window

  7. Move the fastZ by an equal intended increment using the motor controls window

  8. Visually compare the live display to the snip taken at step 4. Repeat step 8 until they are identical.

9. If moving the fastZ by the intended increment did not result in the live and reference image matching, Adjust the fastZ toward the reference slice using the up or down arrows in the alignment GUI until the images match (this will physically move the focus plane and also add and/or move a calibration point in the alignment GUI)

  1. Repeat 6-9 for the range of the fastZ that you want to use.