PC Configuration
First, ensure that the designated ScanImage® Computer meets the following minimum specifications.
PC Requirements
CPU |
Intel/AMD CPU 2024 or later |
RAM |
Note Additional RAM may be valuable for future ScanImage® or user-specific requirements, e.g. online image analysis done in User Functions |
PCIe slots |
Note Additional PCIe slots may be valuable for future ScanImage® or other user-specific requirements |
Hard Drives |
|
OS |
Windows 11 64bit |
Matlab |
|
Install Matlab
Find out if your university has a Matlab campus license.
DAQ Installation
The required DAQ software varies depending on whether the Vidrio Technologies vDAQ or National Instruments DAQs is used. Follow the section that suits your situation.
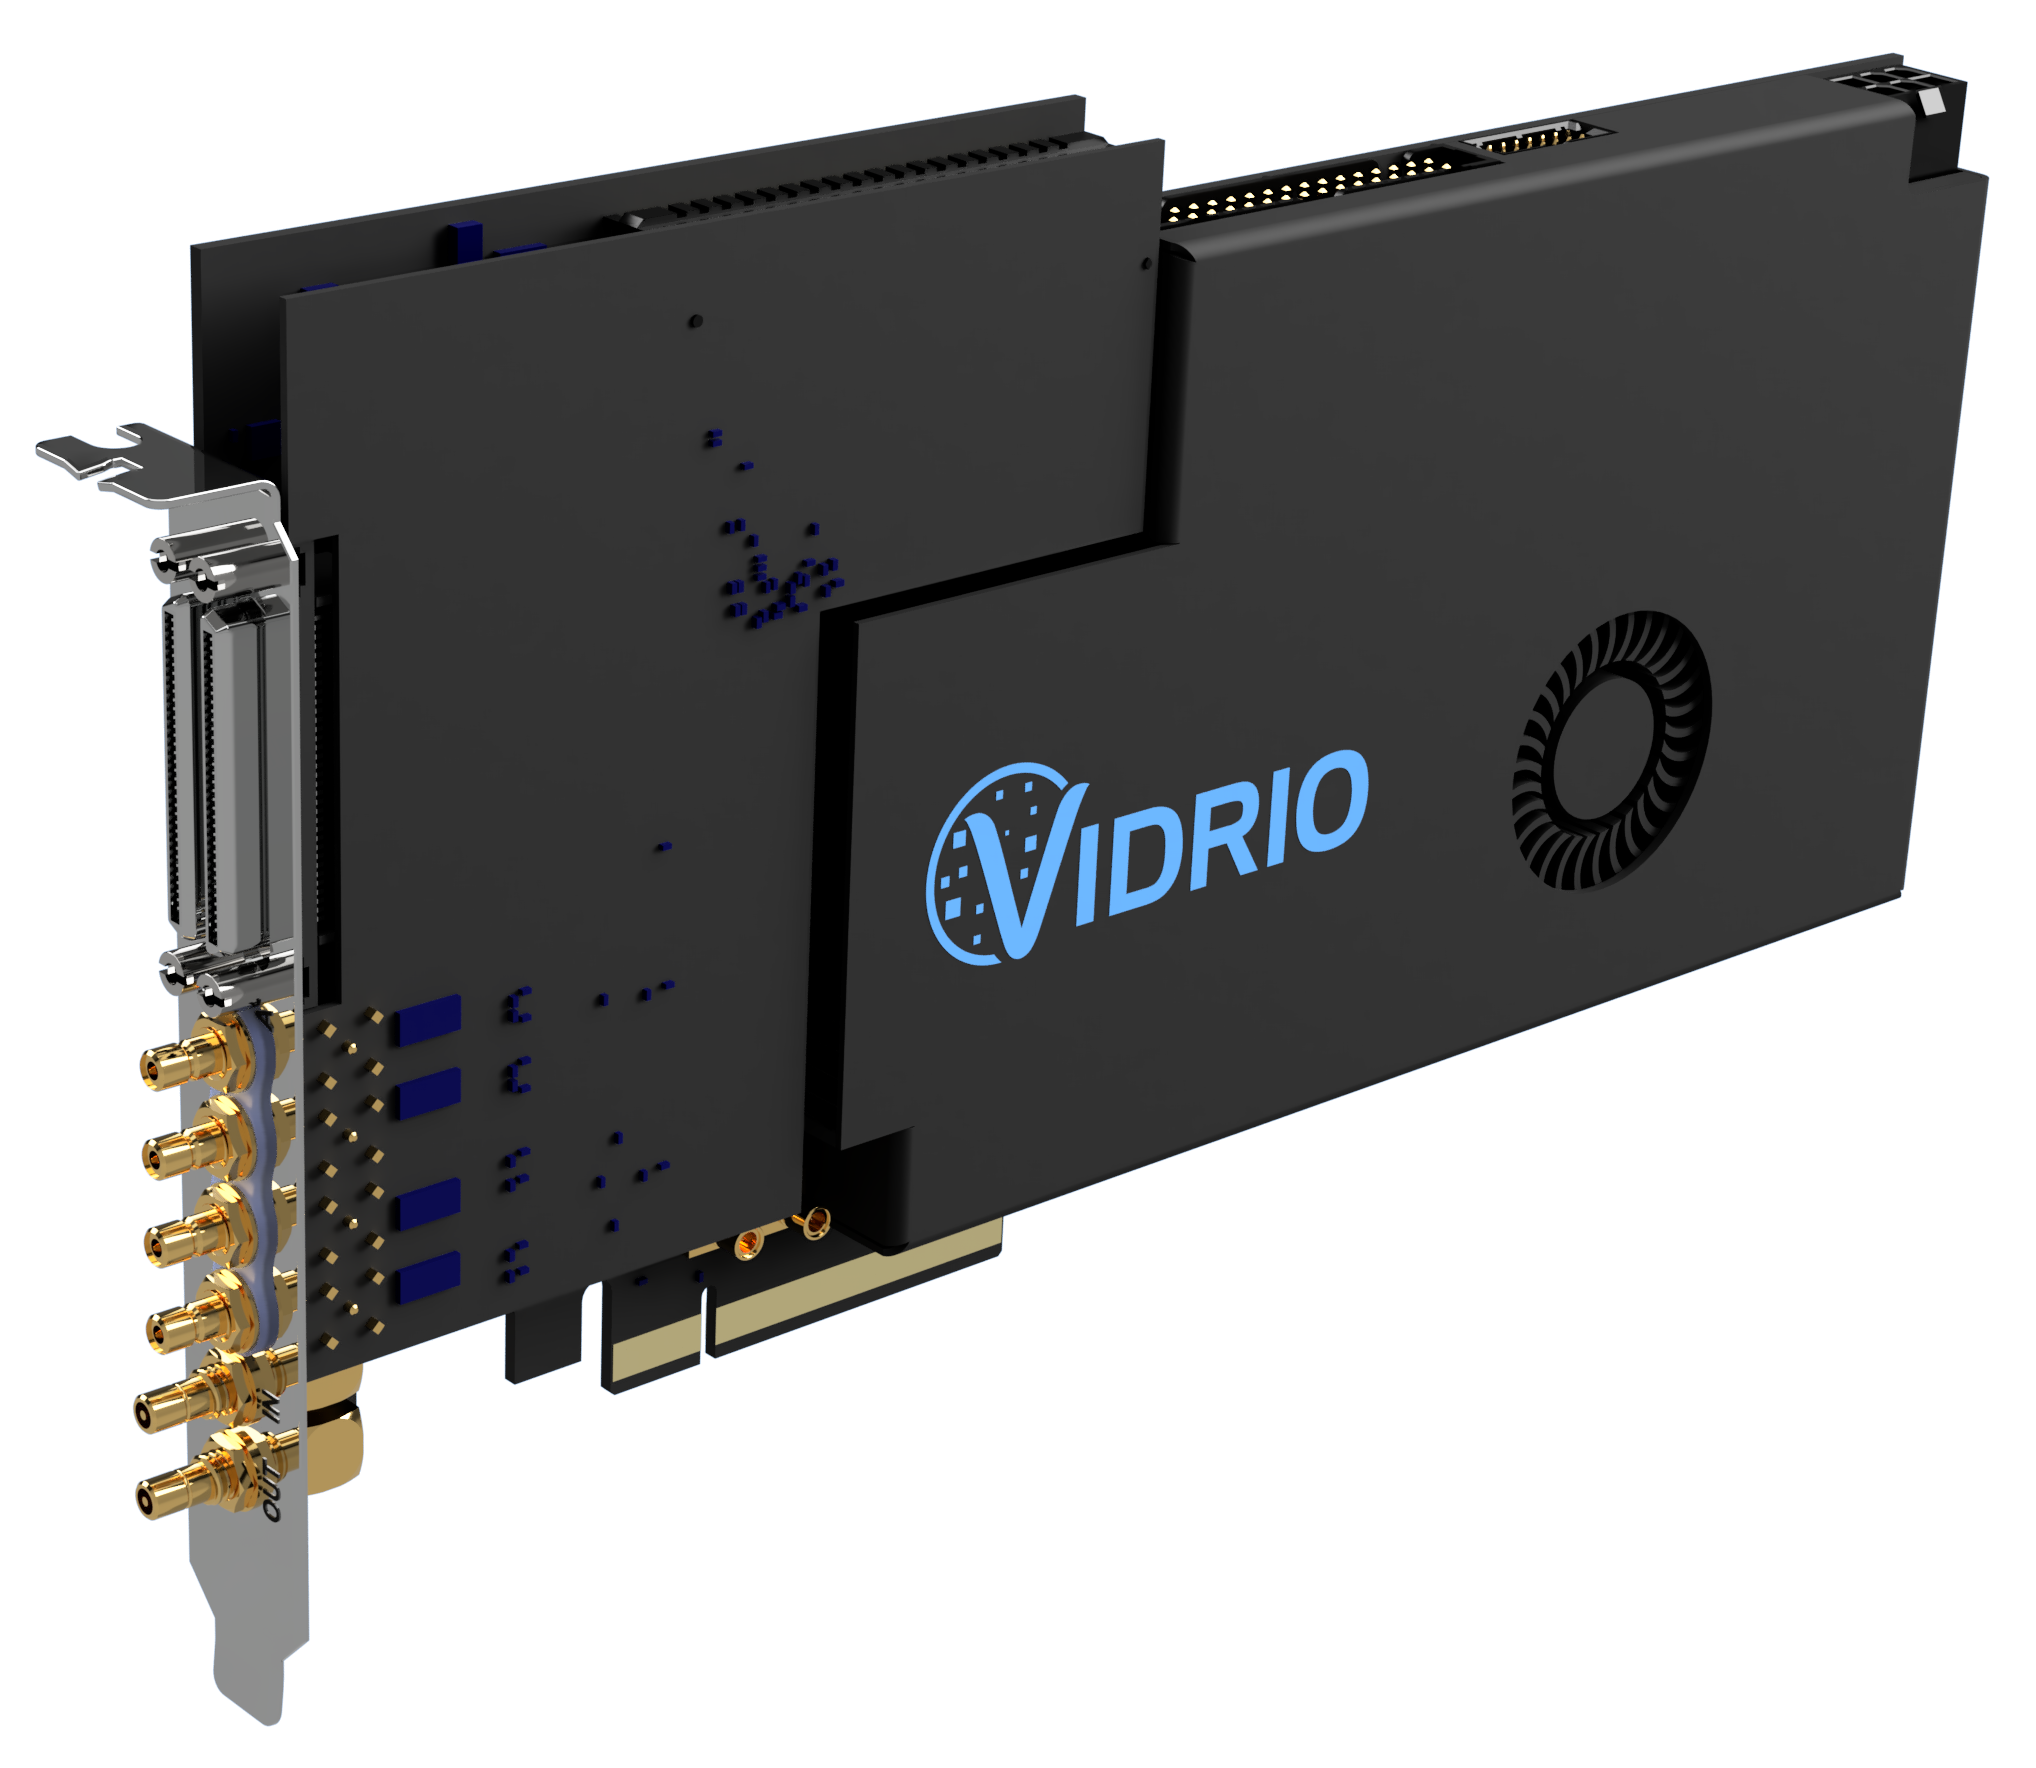
vDAQ Installation
Shut Down the PC switch off the power supply, unplug the power cable, wear an ESD strap, and remove the PC chassis lid.
Install the vDAQ in a PCIEv3 x8 slot of the motherboard, preferably with direct access to the CPU
Plug in a 6-pin PCIE power cable from the power supply to the vDAQ power receptacle
Close up the PC Chassis, reconnect power, and boot up the PC.
Download and install the vDAQ vDAQ device drivers.
Continue with section Install ScanImage
NI DAQ and driver Installation
The NI DAQ system is very modular, and the combination of DAQ cards varies with various microscope setups. A greater explanation of NI DAQ and device compatibility is provided later. Here, the MXIE card installation, and the NI DAQmx and NI FlexRIO software installation is covered.
MXIE card Installation
With the purchase of NI PXIe 1073 chassis comes a MXIE card which needs to be installed in the motherboard. Any questions about the PXIe 1073 chassis should be answered in its manual
Shut Down the PC, turn off the power supply, unplug the power cable, wear an ESD strap, and remove the PC chassis lid.
Install the MXIe link in a PCIe x1 slot of the motherboard
Close up the PC Chassis, plug in, switch PSU power to on, and boot up the PC.
NI driver Installation
The following NI driver are required to run ScanImage: - NI DAQmx driver. - NI FlexRIO driver.
Install ScanImage
Download ScanImage from the Vidrio Technologies Site. You will need to create a user account to access the download. If you need any help creating the account or accessing your license, please contact Vidrio support.
Note
Starting with ScanImage® 2020, either a basic or premium license key is required to operate ScanImage. To acquire one, send a request for quote to sales.
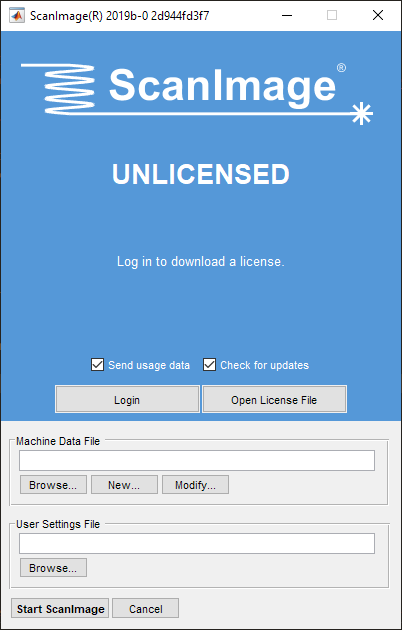
Startup Window
Run the ScanImage® installation media. This will install ScanImage® files in the below directory and add the path to MATLAB. This can be verified in MATLAB by executing line “which scanimage” in the Matlab command window.
>> which scanimage
   C:\Program Files\Vidrio\SI2019bR0_2020-03-16-151209_4d721e971c
>> scanimage
Run ScanImage
Open Matlab and execute the command “scanimage” in the command window to start scanimage.
This will bring up the startup window from which the license, machine data file, and user settings file can be loaded. First, the license should be activated. Continue to the License Manager page to learn more.